Monday, January 30, 2012

Nian Gao or Sticky Rice Cake

The Lunar Chinese New Year is celebrated over 15 days. During this period, auspicious food would be consumed and one of this would be Nian Gao or Sticky Rice Cake made from glutinous rice flour and sugar.

Eating Nian Gao, (Chinese: 年糕; pinyin: nián'gāo) during the Lunar New Year is considered good luck as it symbolises increasing one's prosperity every year.This association makes Nian Gao a popular gift item during the New Year period.
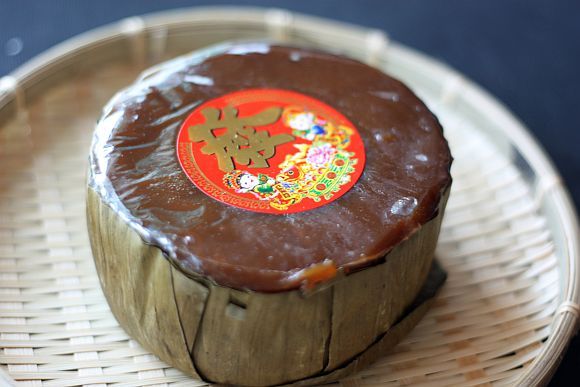
nian go 1


The traditional Nian Gao is round with a auspicious decoration such as the character for prosperity 发 on its top. The character is often written in the traditional Chinese script.

It is sold is several sizes small, medium and big. As a gift item, Nian Gao are fashioned into different shapes with attractive packaging to suit the festivee season. Popular designs include a pair of carps 年年有余 symbolizing surplus every year, ingots 元宝, or the God of Wealth 财神. These designs are auspicious symbols and sends good wishes for the New Year.
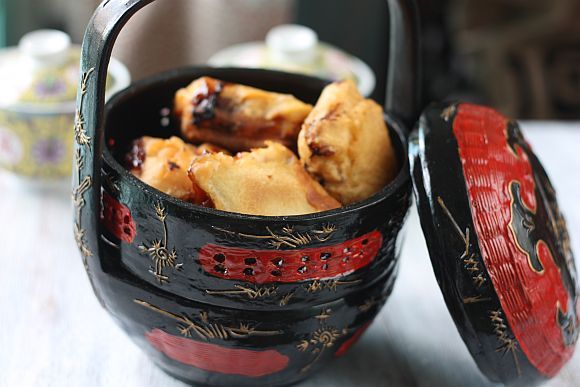
nian go 4


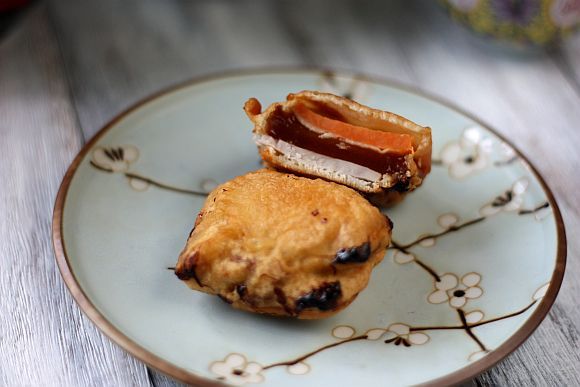
There are several ways of eating Nian Gao. Some would just consumed it steamed, sometimes steamed and then coat it with freshly grated coconut or else it would be sliced into pieces, dipped into a batter and fried. A popular method of eating this in Malaysia would be to sandwhich it between a thin piece of yam and sweet potato, coat it with batter and then deep fried.
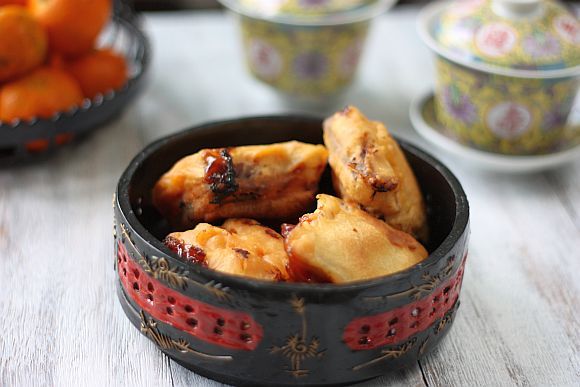
nian go 2


nian go 3


Nian Gao or Sticky Rice Cake

Ingredients:

1 medum size Nian Gao, sliced into squares
1 medium size sweet potato, sliced into squares
1 medium size yam, sliced into squares

For the Batter:

100g rice flour
45g cake flour or all purpose flour
20g corn flour
1 tsp baking powder
1/4tsp salt
1 tsp oil
1 egg
110 - 120 ml ice water

Method:

1) Into a bowl, add all the flour and salt.

2) Add the egg and oil into the ice water and mix. Then gradually pour in the liquid into the flour, stirring to mix until it becomes a thick batter.

3) Sandwich the Nian Gao with 1 piece of yam and 1 piece of sweet potato. Set aside.

4) Heat about 1 cm high vegetable oil in a large frying pan. Once the oil is hot, reduce to medium low heat. Dip the Nian Gao sandwich into the batter and then gently drop into the oil. Becare as it will splatter when it starts to cook.

5) Fry until golden brown. Drain and set aside. Best consumed whilst still warm.
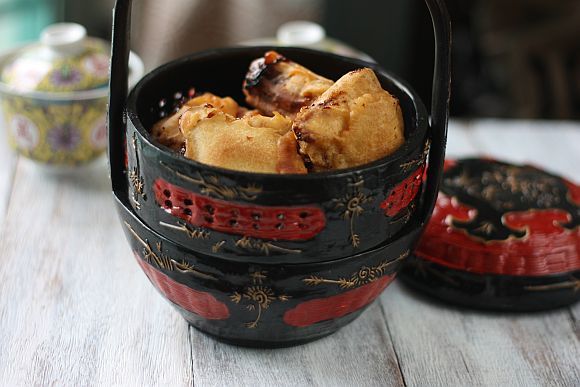
nian go 5


nian go 6

Friday, January 20, 2012

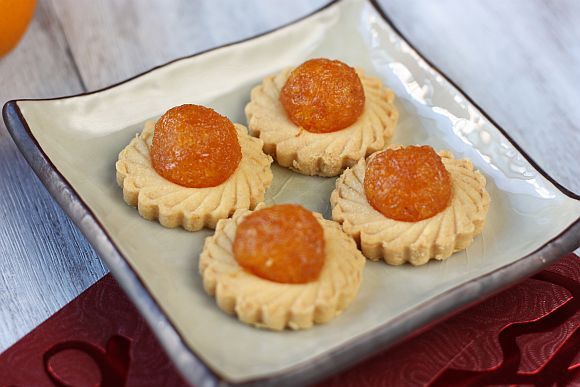
Pineapple Tarts and Happy Lunar New Year

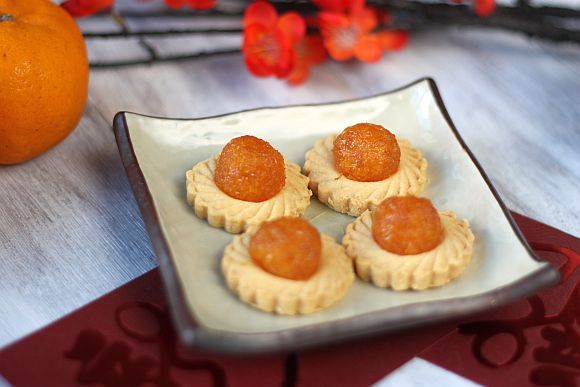
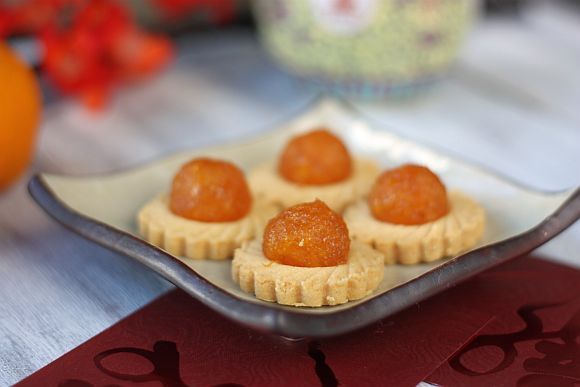
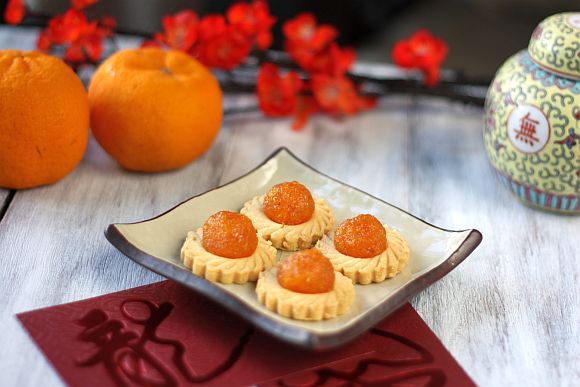
As far back as I can remember, pineapple tarts have been served in every single household we visited during the Chinese Lunar New Year. Our own household served these tarts as well to visitors. Pineapple tarts in fact have a significance to the Lunar New Year.

pinetart 4


Pineapple, Feng Li 鳳梨, literary means the phoenix pear. It is also commonly known as 黃梨: Huang Li (in Mandarin) or Wong Lai (in Cantonese) or Ong Lai (in Hokkien). It means the yellow pear or to some, the golden pear. The common vowel of "Wong" or "Ong" in the many Chinese dialect just means one thing which is "prosperity". I guess this is the reason why Pineapple Tarts are served during the Lunar New Year as eating this cookie means it would bring prosperity and maybe the chance of good luck to the individual.

Photobucket


Wishing you and your family a Happy Lunar New Year. May you have lots of prosperity this year.

pinetart 3


Pineapple Tarts

Ingredients for the Jam:

4 slightly riped pineapples
400g sugar

Method:

1) Cut the pineapples and remove all eyes. Cut into long wedges removing the center core. Using a food processor, grate the pineapple and put into a non-reactive deep pan.

2) Add the sugar into the pan and cook the mixture over a low heat, until it resembles a thick jam. This will take between 1 1/2 to 2 hours. Cool and pack into containers. The jam can be refrigerated up to 2 months.

3) For a spice flavour, you can add in a stick of cinnamon and some star anise during the cooking process. Remove the spices before packing into containers.

Ingredients for Pastry:

150g plain flour
1/4 tsp salt
1 Tbsp corn flour
100g unsalted butter, softened
1 1/2 Tbsp icing sugar
1 egg yolk

Method:

1) Sieve flour, corn flour, salt, icing sugar and vanilla essence into a mixing bowl.

2) Beat the butter and icing sugar until soft and creamy. Add in the egg yolk and beat until combined.

3) Add the flour mixture all at once and rub into the butter mixture until it resembles bread crumbs.

4) Take a bit of the pastry dough (the rest covered with a slightly damp cloth to keep it from drying) and roll pastry into 1/2 cm thickness. Dust the cutter with some flour and then stamp out the shape onto the rolled out pastry. Place the cut out piece onto a baking tray lined with parchment paper.

5) Pinch some pineapple jam and roll into a ball with 1cm diameter. Place on the center of the tart.

6) Bake in a preheated oven at 180C for 20 to 22 minutes minutes till lightly golden.

Photobucket


pinetart 2

Tuesday, January 17, 2012

Peanut Cookies

I can't believe how time flies! We had just celebrated Christmas and we will now be celebrating the Lunar New Year in a week's time. Chinese New Year is considered the most important traditional holiday. It is celebrated over two consecutive weeks and is popularly known as Spring Festival. The coming New Year will be the year of the Dragon, which is the 5th sign of the Chinese zodiac. The Dragon is regarded as an auspicious symbol which stands for power, good luck, success, and happiness.

Photobucket


To usher in the New Year, we Chinese have some customs and rituals to perform prior to the celebrations.

Cleaning house and decorating it is definitely a "MUST"! People clean their homes with the belief that it will help them get rid of bad luck and get the house ready to accept good luck in the year ahead. We decorate our front doors and windows with signs and posters having the word "fu" engraved on them, which means good luck and happiness. Adding flowers to the home signifies the coming of spring.

As the coming Lunar New Year ushes in the Dragon, some of these decorations will have the dragon symbol displayed.

One of the popular Chinese New Year traditions is to present your dear ones gifts that are symbols of good luck and prosperity. Most adults gift red envelopes (called "ang pows")filled with money to their younger family members, relatives, and friends. It is a custom not to open the envelopes until the recipient leaves the house of the person who has offered the present. The adults also offer gifts packed in red covers to unmarried family members.

Photobucket


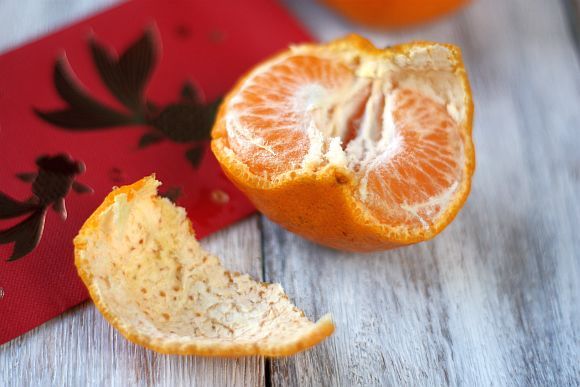
It is also a time for all family members to get together and have a grand meal. Some dishes eaten normally during this festival are Chinese dumplings, long noodles, and oranges. The noodles symbolize long life and oranges are a sign of completeness. Sticky rice cakes and sweets are also eaten during this time.

Wearing new clothes is one of the Chinese New Year traditions. Any clothing that is read is believed to help to get rid of evil spirits. Black clothing is avoided during the New Year.

Chinese New Year has a special significance for the business houses. They offer a special prayer on the 2nd day of the festival, especially if they plan to start a venture at this time of the year. They believe that by doing so, they will be blessed with good fortune and prosperity.

A special highlight of Chinese New Year celebrations is the preparation of the Tray of Togetherness which is octagonal or circular in shape. This tray comes with an assortment of foods like sugared fruits, coconut, winter melon, water chestnut, and lotus seeds. In addition, it may have carrots and tangerines. The purpose is to wish for a sweet beginning in the year ahead.

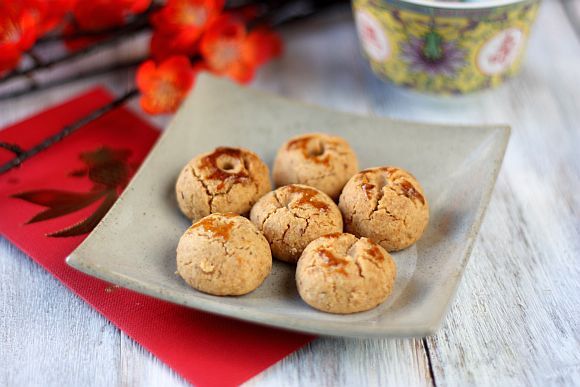
peanut 2


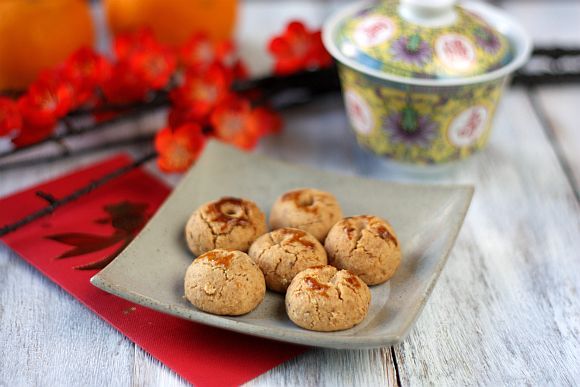
Peanut Cookies
Recipe Adapted from "Rasa Malaysia"

Ingredients:

4 cups ground roasted peanuts (loosely packed)
1 cup powdered sugar (icing sugar)
1 cup vegetable oil (not olive oil) (I used slightly less than 1 cup)
2 cups all-purpose flour
2 Tbsp vegetable shortening (or Crisco)
1 egg yolk, beaten slightly for egg wash

Method:

1) Mix the ground peanut, sugar, oil, shortening and flour together until well combined. Shaped into small balls. Use the rounded tip of a chop stick to make a slight indentation.

2) Brush the top with the egg wash and bake at 350 degrees F (180 degrees C) for 18 - 20 minutes or until brown. Remove from the oven and let cool.

3) Note that the cookies will be very light, so handle with care. When packing, place a piece of parchment on each layer.

peanut 1


peanut 3

Thursday, January 12, 2012

Mini Pavlova with Summer Berries

I confess big time that this is my first ... very first Pavlova! I have never made one or eaten one in my life. Even my 12 year old niece Caitlin who stays in Melbourne has beaten me to this recipe and she has made this many a times. When I posted that I was making Pavlova on my Facebook, Caitlin immediately responded with a "What, you are only now making Pavlova?" I can only imagine her facial expression to her mum at the other end.

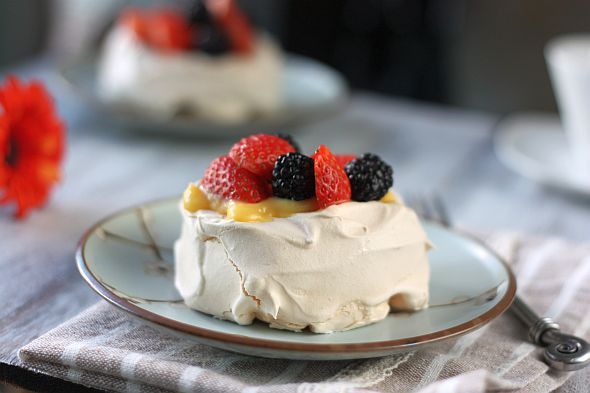
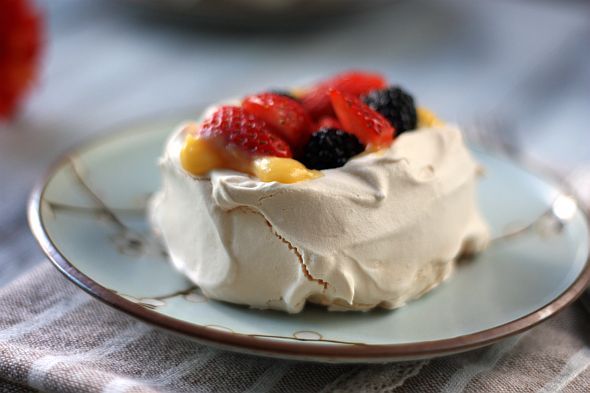
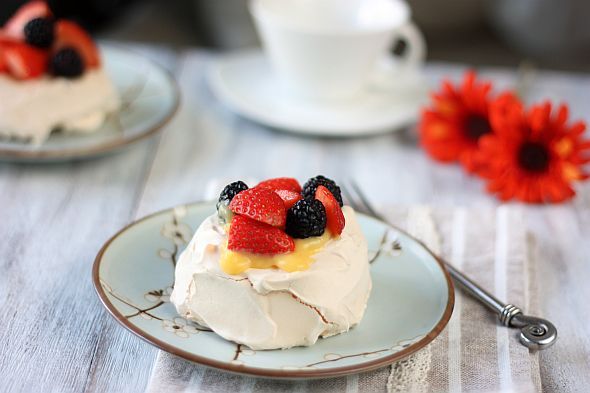
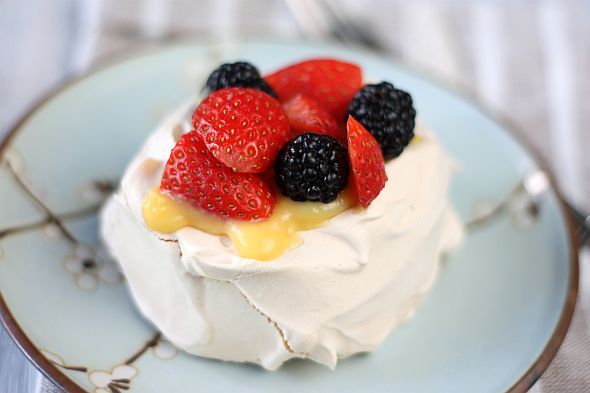
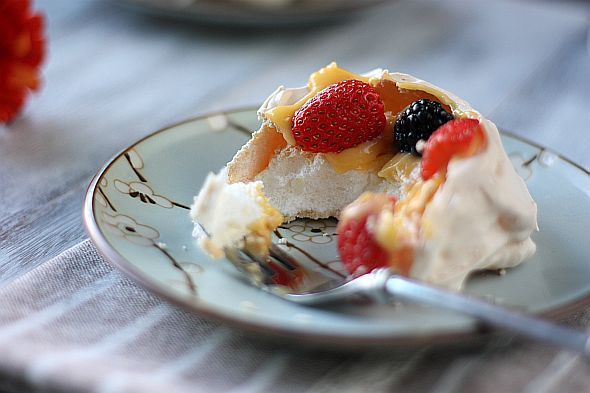
Its kind of funny when I think about this. A Pavlova is such an easy recipe, less than five ingredients are required. Shouldn't I have attempted this before as compared with the triple layer or fondant cakes I have made in the past. Whatever was I thinking! I must say that the end result was excellent. The outer crust was crispy and the insides was marshmallowy soft and light. I had left over lemon curd which came in handy. I topped it off with strawberries and blackberries which were on sale. Making mini ones is so much easier to serve and it certainly does make elegant desserts. When I do make them again in the future I'll try pairing them with passion fruit pulp.

pavlova 2


Mini Pavlova
Makes 6 Minis
Print Recipe

Ingredients:

3 eggs (60g each), separated
2/3 cups caster sugar
1 tsp cornflour (corn starch)
1/2 tsp white vinegar
1/2 tsp vanilla extract

To Decorate:

Lemon Curd (recipe below)
Mixture of fresh berries

Method:

1) Preheat oven to 120°C. Line an oven tray with parchment

2) Use an electric mixer to whisk egg whites in a clean dry bowl until soft peaks form. Gradually add sugar and continue to beat until meringue is thick and glossy and sugar dissolved. Rub a little meringue between fingers. If still "gritty" with sugar, continue to whisk until sugar dissolves. This may take any where between 12 to 16 minutes depending on your electric mixer.

3) Add cornflour, vinegar and vanilla and whisk until just combined.

4) Spoon meringue onto the parchment, making six mini piles. If you want to be precise you can mark circles as a guide on the underside of the parchment paper.

5) Smooth sides and top of pavlova. Use a small spatula to form a small indention in the center to enable you to pile the lemon curd and berries when you assemble.

6) Bake in pre-heated oven for about an hour to 1 1/2 hours or until pavlova is dry to the touch. Turn off oven. Leave pavlova in oven with the door ajar to cool completely. When completely cold, transfer to serving plate or store in an airtight container until required.

pavlova 4


Lemon Curd
Makes about 1 1/2 cups

Ingredients:

3 large eggs
3/4 cup (150 grams) granulated white sugar
1/3 cup (80 ml) fresh lemon juice (2-3 lemons) (do not use the bottled lemon juice)
4 tablespoons (56 grams) unsalted butter, at room temperature
1 tablespoon lemon zest

In a stainless steel bowl placed over a saucepan of simmering water, whisk together the eggs, sugar, and lemon juice until blended. Cook, stirring constantly (to prevent it from curdling), until the mixture becomes thick (resembling sour cream). This will take approximately 10 minutes.

Remove from heat and immediately pour through a fine strainer to remove any lumps. Cut the butter into small pieces and whisk into the mixture until the butter has melted. Add the lemon zest and let cool. The lemon curd will continue to thicken as it cools. Place a clingwrap directly on top of the curd (so a skin doesn't form) and refrigerate for up to a week.

Note: If you want a lighter lemon curd whip 1/2 cup (120 ml) of heavy whipping cream and fold into the lemon curd.

To Assemble:

Place a pavlova on to a serving plate. Top with about 3 tsp of lemon curd in the center. Cut fresh berries and pile on top. Dust lightly with icing sugar before serving. Once assembled, it is best to eat the pavlova within 2 hours.

pavlova 1


pavlova 3


pavlova 5

Sunday, January 8, 2012

Roasted Pumpkin Soup

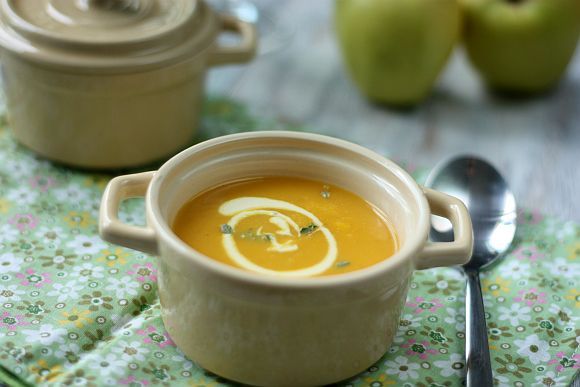
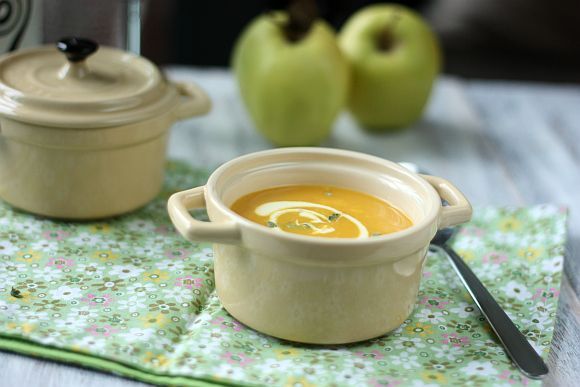
At times I am just in the mood of having a simple meal such as a salad or soup. This particular weekend was one of those days and I decided to make some homemade pumpkin soup. I know it would be easier to just grab a can off the grocery shelf but I find canned soups to be loaded with a lot of salt. Furthermore it is either too watered down or has a starch like consistency.

I decided to try making some pumpkin soup from scratch and butternut pumpkin is the easiest to find in this part of the world. Butternut Pumpkins, also called butternut squash, are pear-shaped with pale orange-brown skin and a brightly coloured deep orange flesh. The wonderfully moist flesh has a sweet, buttery, nutty flavour and a slightly fibrous firm texture. Pumpkin is a source of vitamin A & C, folate, potassium, nician and dietary fibre.

Pumpkin is prone to decay, so it is important to carefully inspect it before purchase. Choose ones that is firm, heavy for its size and has a dull, not glossy, rinds. The rind should be hard as soft rinds may indicate that the pumpkin is watery and lacking in flavour. Avoid those with any signs of decay, which manifest as areas that are water-soaked areas or mouldy. If you are not planning to cook the pumpkin immediately, you should store it in a cool, dark and well ventilated area. However once the butternut is cut, wrap in plastic and store in fridge.

pumpkin soup 2


Roasted Pumpkin Soup
Recipe Adapted from Donna Hay's "Fast, Fresh & Simple"
Serves 4

Ingredients:

1 x 2kg whole butternut pumpkin
1 onion
Olive oil, for drizzling
3 1/2 cups chicken stock (fresh or canned (unsalted))
1 cup (250ml) single (pouring) cream
1 sprig of fresh rosemary
Sea salt
Freshly ground black pepper

Method:

1) Preheat oven to 220°C (425°F).

2) Cut the pumpkin in half lengthways and scoop out the seeds.

3) Place the pumpkin, cut-side up, and onion on a baking tray. Add the sprig of fresh rosemary on top of the pumpkin.

4) Drizzle with a little oil and sprinkle with salt.

5) Bake for 55–60 minutes or until the pumpkin is just soft and starting to brown. Remove and discard the rosemary. Scoop the pumpkin out of the skin into a blender.

6) Scoop the onion flesh away from its skin and add to the blender.

7) Add 1 cup (250ml) of the chicken stock and blend until smooth.

8) Pour the mixture into a saucepan, add remaining stock and cream.

9) Place over medium heat until soup is heated through.

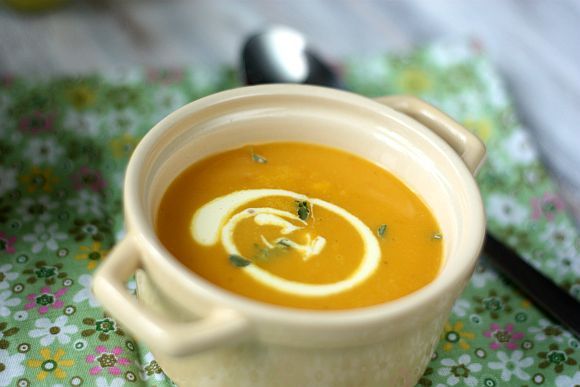
10) Serve with freshly ground black pepper and a drizzle of fresh cream or sour cream.

pumpkin soup 1


pumpkin soup 3

Tuesday, January 3, 2012

Honey Madeleines

After seeing some of my blogger friends posting up madeleine recipes in their blogs, I was really tempted to try making them and having my very first taste of these cute little cakes. Alright I confess ... I have never had a madeleine before in my life.

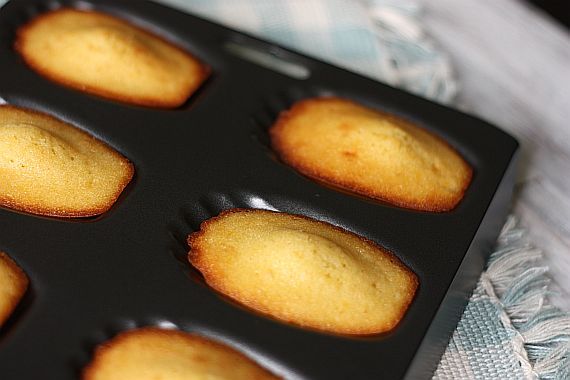
For this baking venture, I had to get myself a madeleine mold. Luckily they were on sale at a local baking store and once I got my hands on one, there was no holding back after that!

Mandeline 4


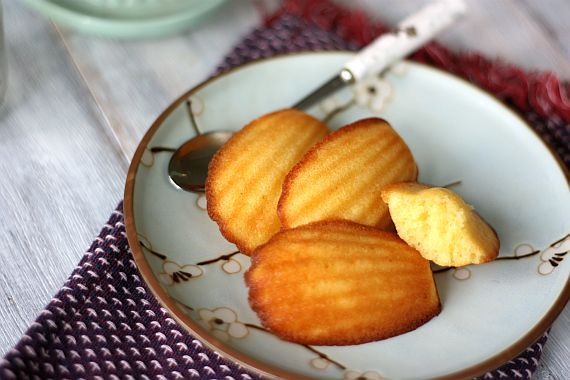
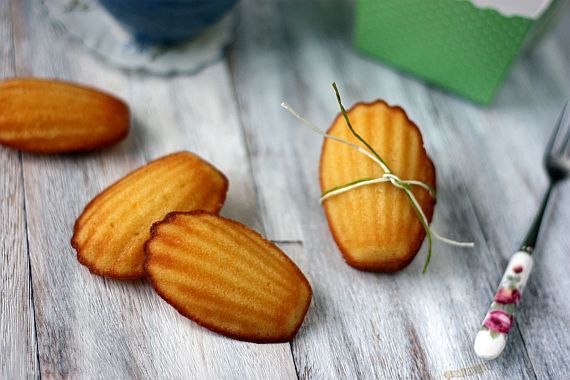
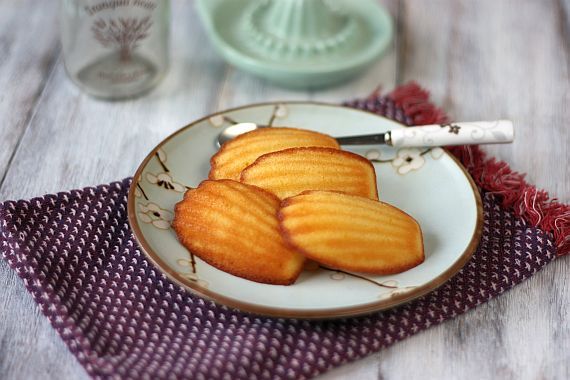
What exactly are Madeleines? Madeleines are very small sponge cakes with a distinctive shell-like shape acquired from being baked in pans with shell-shaped depressions. A génoise cake batter is used. The flavour of these little cakes are similar to, but somewhat lighter than a traditional sponge cake. So whether you enjoy them plain or dipped in your tea or coffee, these small petit fours make the perfect afternoon treat. There are a number of flavours that could be added to the batter to create different madeleines.

I must say that after having tasted my first Madeleine I will be trying a chocolate variation in the near future.

Mandeline 1


Mandeline 3


Honey Madelines
Makes about 24 3" size madeleines
Recipe Adapted from "Joy of Baking"

Ingredients:

113g unsalted butter
1 cup all-purpose flour
1/2 teaspoon baking powder
1/8 teaspoon salt
3 large eggs, at room temperature
100g granulated white sugar
1 Tbsp good quality honey
1/2 tsp lemon zest
1 teaspoon pure vanilla extract

Method:

1) First, melt the butter and allow it to cool while you make the batter.

2) In a small bowl place the flour, baking powder and salt and whisk until well blended.

3) In the bowl of your electric mixer, beat the eggs, honey and sugar at medium-high speed until the mixture has tripled in volume and forms a thick ribbon when the beaters are lifted (about 5 minutes). Add the lemon zest and vanilla extract and beat to combine.

4) Sift a small amount of flour over the egg mixture and, using a large rubber spatula, fold the flour mixture into the beaten eggs to lighten it. Sift the rest of the flour over the egg mixture and fold in being sure not to overmix or the batter will deflate.

5) Whisk a small amount of the egg mixture into the melted butter to lighten it. Then fold in the cooled melted butter in three additions. Cover and refrigerate for at least 30 minutes, or several hours, until slightly firm.

6) Position a rack in the center of the oven and preheat to 375 degrees F (190 degrees C). Generously butter two 12-mold madeleine pans. Dust the molds with flour and tap out the excess. (Make sure the pans are well greased or the madeleines will stick and be hard to remove.)

7) Drop a generous tablespoonful of the batter into the center of each prepared mold, leaving the batter mounded in the center. (This will result in the classic "humped" appearance of the madeleines.)

8) Bake the madeleines for 11 to 13 minutes, until the edges are golden brown and the centers spring back when lightly touched. Do not overbake these cookies or they will be dry.

9) Remove the pans from the oven and rap each pan sharply against a countertop to release the madeleines. Transfer the madeleines, smooth sides down, to wire racks to cool. The madeleines are best served the same day but can be stored in an airtight container at room temperature for 2 to 3 days or frozen, well wrapped, for up to 1 month.

10) When serving dust with confectioners sugar.

Mandeline 2


Mandeline 5
Related Posts with Thumbnails