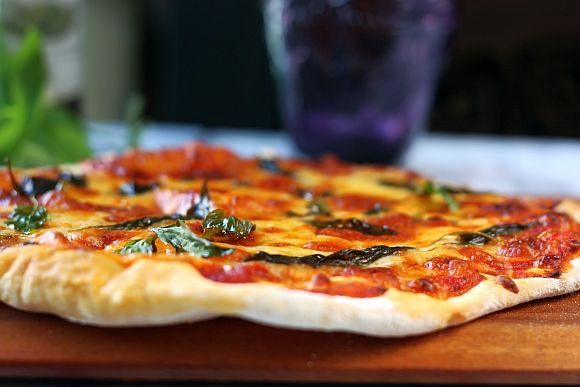
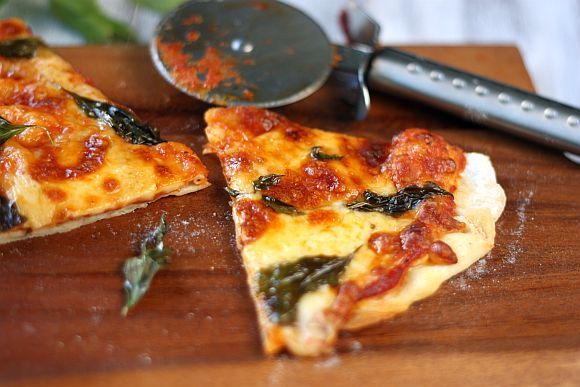
This is another great pizza recipe to put together especially if you are planning a pizza party. It's quick and easy and any left over dough can be stored in the fridge for up to 3 days. Just imagine a pizza party where your guest can put together their own designer pizza ...
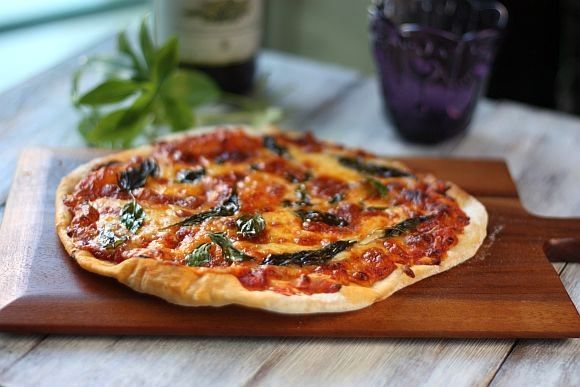
 Homemade Thin Crust Pizza
Makes Two 10" Pizzas
For the dough
Homemade Thin Crust Pizza
Makes Two 10" Pizzas
For the dough:
3/4 cups lukewarm water
1 teaspoon active-dry or instant yeast
2 cups unbleached all-purpose flour
1 1/2 teaspoons salt
Method:
1) Preheat the oven to 450°F or as hot as it will go and let it heat for about 20 mins before making the pizza. If you have a pizza stone, put it in the lower-middle part of the oven now. If you don't use use a baking sheet pan, turned upside down and place into the oven.
2) Combine the water and yeast in a mixing bowl, and stir to dissolve the yeast. The mixture should look like thin miso soup. Add the flour and salt to the bowl and mix until you've formed a sticky.
3) Turn the dough out onto a clean work surface along with any loose flour still in the bowl. until all the flour is incorporated, and the dough is smooth and elastic, about 5 minutes. The dough should still feel moist and slightly tacky. If it's sticking to your hands and counter-top like bubble gum, work in more flour one tablespoon at a time until it is smooth.
4) Leave the dough to rise until doubled in bulk (about an hour or so). After rising, you can use the dough or refrigerate it for up to three days.
5) Cover the dough with the upside-down mixing bowl or a clean kitchen towel while you prepare the pizza toppings.
6) When ready to make the pizza, tear off two pieces of parchment paper roughly 12-inches wide. Divide the dough in two with a bench scraper. Working with one piece of the dough at a time, form it into a large disk with your hands and lay it on the parchment paper.
7) Work from the middle of the dough outwards, using the heel of your hand to gently press and stretch the dough until it's about 1/4 of an inch thick or less. For an extra-thin crust, roll it with a rolling pin. If the dough starts to shrink back, let it rest for five minutes and then continue rolling.
8) The dough will stick to the parchment paper, making it easier for you to roll out, and the pizza is baked while still on the parchment. As it cooks, the dough will release from the parchment, and you can slide the paper out midway through cooking.
9) Spoon a few tablespoons of sauce into the center of the pizza and use the back of a spoon to spread it out to the edges. Pile on all of your toppings.
10) Using a bread peel or the bottom of a large removable cake tin, slide your pizza (still on the parchment) onto the baking stone in the oven or onto the pre-heated baking sheet pan.
11) Bake for about 5 minutes and then rotate the pizza, removing the parchment from under the pizza as you do so. Bake for another 3 to 5 minutes until the crust is golden-brown and the cheese looks toasty.
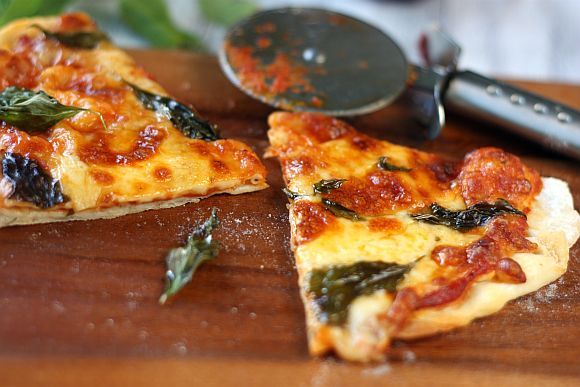
12) Remove the pizza from oven and let it cool on a wire rack. Repeat with shaping, topping, and baking second pizza.
13) Let both pizzas cool for about five minutes before slicing and serving.